Namitsugi Cob | 8 Nov. 2009
Here, I will explain the process of painting the main body of the fishing rod.
As mentioned before, the painting of the rod's main body is mostly unrelated to its performance. It belongs to the realm of the author and the user's "obsession." If we only consider the functionality of the rod, a minimum level of waterproofing is sufficient. However, in the case of the Sumidagawa Special, we put the most effort into this painting process to enhance both the functionality of the rod and its final beauty. Therefore, we will perform meticulous painting that may make you wonder, "Why do you pay so much attention to it?"
First, let me explain the basics of general painting.
The paint used is "Urushi lacquer with Urashima mark." It is easy to handle and does not cause allergies. Once you squeeze the lacquer out of the tube, you dilute it to a suitable concentration using a dedicated thinner. In my case, I dilute it at a ratio of 7:3 to 8:2. The ideal condition is to have the paint as thin as possible without dripping. If you are not familiar with it, I recommend making it slightly thicker. The painting process consists of three steps: ① painting, ② drying, and ③ polishing, which together form one cycle. Repeat these steps several times, up to a dozen times, until the surface becomes uniformly flat.
1. Painting
Apply Urushi lacquer. As mentioned in the previous chapter, use a brush in a vertical motion on the rod.
2. Drying
Allow the Urushi lacquer to dry thoroughly. Choose a moderately humid place and leave it for 3 to 5 days. If you rush this step, you may fail in the subsequent "polishing" process.
3. Polishing
Use fine-grit sandpaper to polish the painted surface. I use sandpaper with grits ranging from 800 to 1500, gradually using finer grits as I approach the finishing stage. Wet the sandpaper and move it parallel to the rod. The purpose of polishing is to make the paint evenly smooth and flat. To avoid removing too much from one spot, rotate the rod continuously while polishing. Take your time and be careful.
Now, let's move on to the actual painting process for "Sumida River Special 3."
In the Sumida River Special, we use a painting technique called "togidashi" (polishing). During the painting cycle, we change colors and enjoy the irregular patterns that appear during the polishing process. It takes a lot of practice to achieve the desired patterns, but the unpredictability of the patterns until the polishing stage can be intriguing.
[Photo 1] Urushi Painting
First, apply "black" paint. Repeat the painting, drying, and polishing cycle until the wood grain of the base disappears. Drying should be done thoroughly. (Although it doesn't need to be perfectly flat, I think 3 to 5 cycles are necessary.)
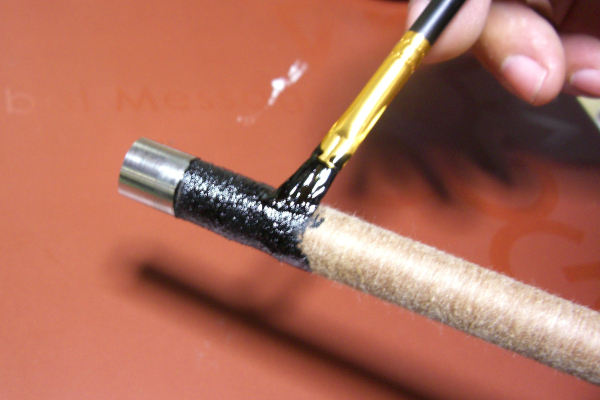
Photo 1: Painting with "Black Urushi"
[Photo 2] Urushi Painting
Next, apply "red" paint. Perform a light polishing and repeat the cycle 2 to 3 times.
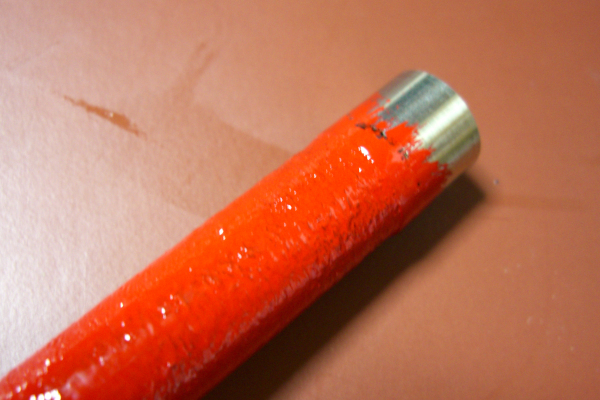
Photo 2: Painting with "Red Urushi"
[Photo 3] [Photo 4] Togidashi and Benitame-Urushi
After the black polishing pattern appears on the red base, apply "Benitame" lacquer. Benitame is a translucent red paint that I personally appreciate for its deep finish.
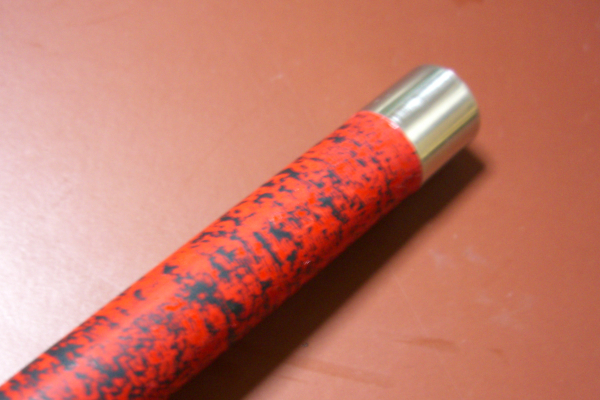
Photo 3: Polishing pattern
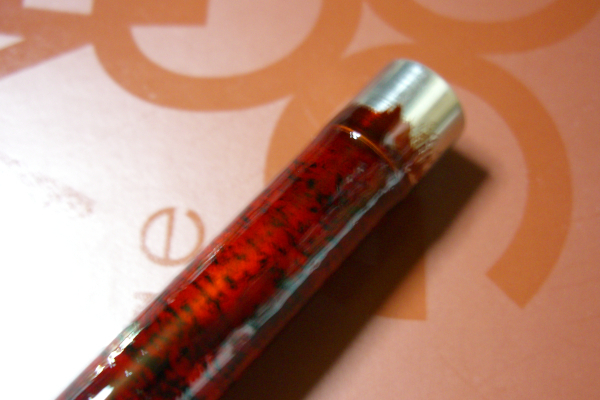
Photo 4: Painting with "Benitame-Urushi"
[Photo 5]Sanding Benitame-Urushi
The process of "Benitame-Urushi" requires at least five repetitions or more. Use finer-grit sandpaper (1000 or higher) and repeat the painting process with attention to the finishing. When the sandpaper touches almost the entire rod, it means the surface has become flat. Initially, the areas where the sandpaper contacts (areas without gloss) and the areas without contact (glossy areas) may differ, but with each repetition, the gloss will become almost uniform. The finishing stage of the painting is approaching.
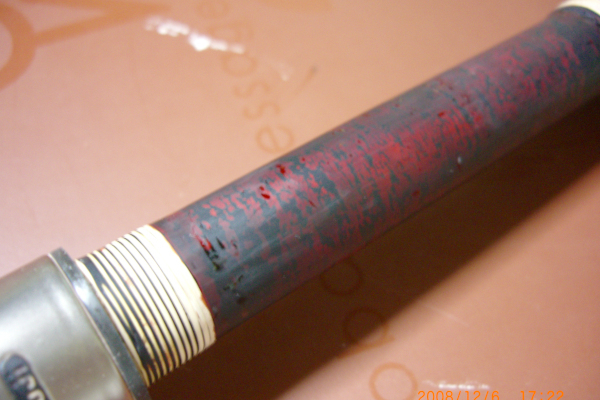
Photo 5: Sandpaper touching the entire rod surface
[Photo 6] Wipe Painting
Finally, it's time for the finishing touches. Apply a thin layer of "transparent Urushi." In traditional Japanese rods, this technique is called "wipe painting," where you apply Urushi between your thumb and index finger and spread it by wiping with your hand. Apply the Urushi thinly and evenly, repeating the process several times for a polished finish. At this stage, I skip the polishing process and lightly polish with fine compound for the final touch.
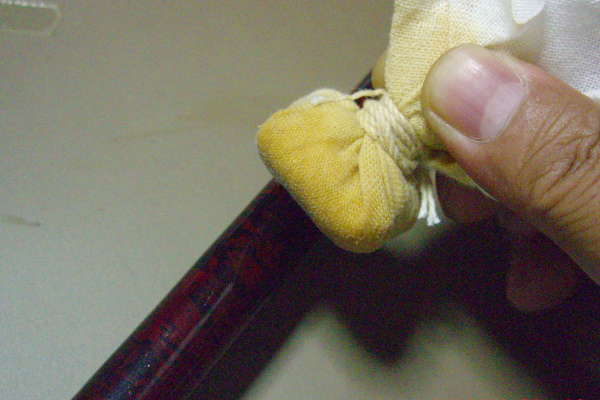
Photo 6: Finishing with "wipe painting"
In the past, I tried wipe painting with Urushi directly on my hand, and it became excessively sticky, causing trouble. Since then, I have made a pad like the one shown in Photo 6, soaked it with Urushi, and used it for painting. Any fabric without lint should be suitable for the pad. I use old Japanese hand towels. The key points are to apply thin layers of Urushi, paint quickly and evenly, and prevent dust from settling during the drying process. This is the meticulous finish of the long-lasting painting process. Be careful, very careful!
In the next part, we will attach the guides and finally complete the "Sumida River Special 3." Stay tuned!