Namitsugi Cob | 1 Mar. 2009
Once the urushi lacquer for thread locking has completely cured, proceed to the next step. Here, we will discuss attaching the reel seat and making the grip.
Step1. Attaching the Reel Seat
First, determine the position of the reel seat. In wazao rods, it is standard for the center of the seat to be positioned approximately 1.35 feet (about 41 cm) from the tip of the handle (for a striped beakfish rod). However, since you are building your own rod, you can decide the position according to your style, using 41 cm as a reference measurement. For the Sumida River Special I and II, we set the center of the seat to be around 38 cm to align with the dimensions of the rod holder. Once the position is determined, thread the pipe seat through the rod and check the gap between the seat and the rod at the fixed position. Just like with adhesive application for the ferrule, it's important to have minimal gap as it affects the quality of the epoxy bonding. If there is a large gap, you will need to perform thread wrapping and make adjustments.
After the adjustments are made, proceed to glue the seat. Apply a slightly generous amount of epoxy to the rod side. Spread the epoxy firmly, ensuring that there are no irregularities in the thread pattern as you fill the gaps between the threads on the bonding surface. When inserting the pipe seat into the rod, it is okay if a large amount of epoxy oozes out from the gap between the seat and the rod. However, the excess epoxy must be wiped away immediately as it will become irreversible once it starts to harden.
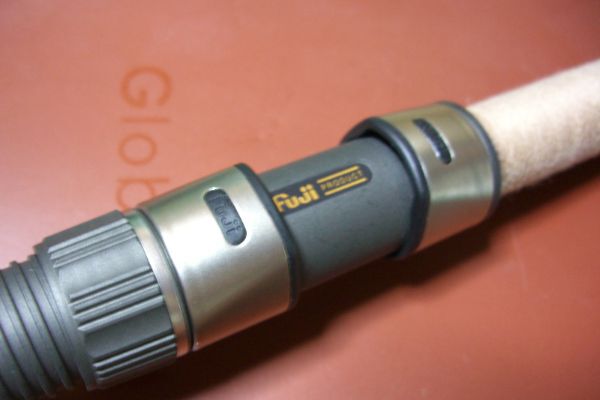
The adhesive process is now complete. Leave it undisturbed for at least one day to allow the epoxy to fully cure.
Step2. Making the Grip
The grip should be made at two places: the end of the handle and the upper part of the reel seat. Additionally, when making the grip at the end of the handle, attach a rubber cap to seal it. Ideally, a wooden handle cap should be used, but it is not necessary for fishing in the Sumida River area. Since the terrace is tiled on a concrete surface, a rubber cap is considered the best option. Rubber caps for the handle can be purchased at fishing tackle stores. You can also find them at "Sakurai." Buy a rubber cap that fits the thickness of your handle, make the necessary adjustments, and then glue it in place.
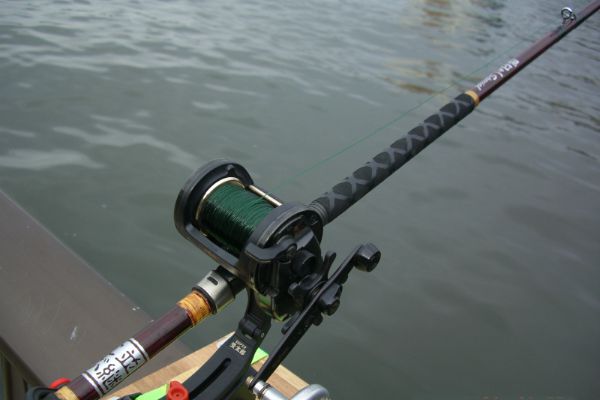
Sumida River Special 1 (using heat-shrink rubber for the grip)
Now, for the grip, you can choose the thickness according to your preference. If it's too thin, you may feel unbalanced when actually holding the rod. Depending on your target catch and the need to handle larger fish, a certain level of thickness and weight is required. There are two methods to create the grip: wrapping thread to add thickness or layering triangular cut paper and then refining it with sandpaper. Another popular method is to process the grip material using the rod itself (Sumida River Special 2 utilizes this method). For the Sumida River Special 1, we used thread wrapping and then added heat-shrink rubber (Million Rubber Grip Super).
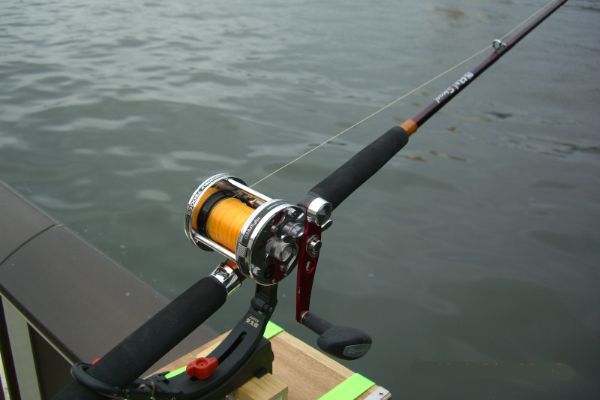
Sumida River Special 2 (using grip material)
Sumida River Special 1 was finished with thread wrapping and rubber grip. However, after using it, we felt the need for more thickness and weight. Therefore, for the newly made Sumida River Special 3, we used vinyl tape instead of thread wrapping to adjust the thickness and weight, and then finished it with a rubber grip. (This method might be considered unconventional in rod making...)
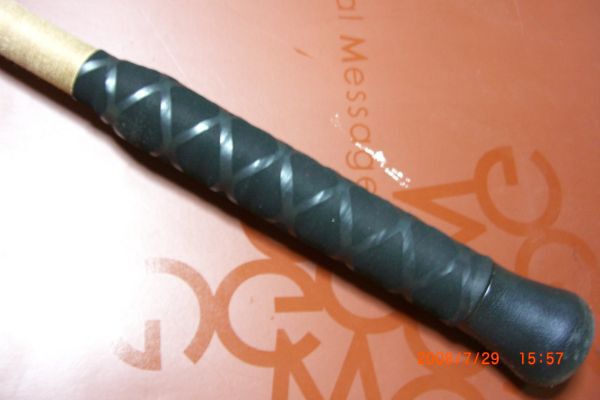
Rubber grip for Sumida River Special 3
Once the grip is complete, proceed to finish the end section. In Sumida River Special 1 and 2, we applied rattan wrapping after finishing the body coating. However, for Special 3, we perform the rattan wrapping during this process and then proceed with the body coating, aiming for a finish where the coating and rattan are integrated.
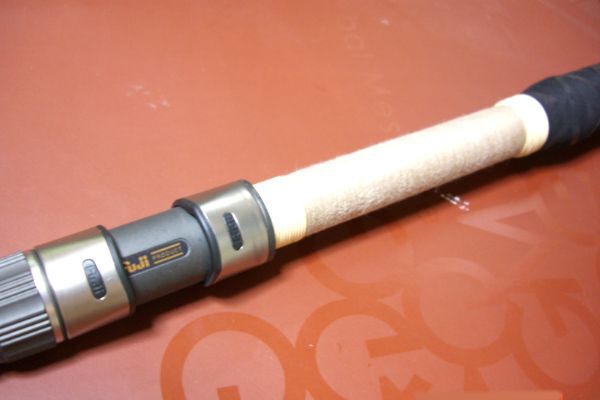
Rattan wrapping (at two places: reel seat side and rubber side)