Namitsugi Cob | 19 Oct. 2008
Step 2 : Wrapping the Base Thread to the Material
The purpose of this process is to pursue the strength and flexibility of the rod. You may often come across the term "so-maki" (full wrap) when it comes to big-game rods like the Striped Beakfish rod. This refers to securely wrapping the entire material with thread.
The wrapping method is similar to the underwrap of the ferrule. The thread should be wound tightly without overlapping or leaving any gaps while maintaining a certain tension. Of course, you should not create bumps or knots along the way. When starting and finishing the wrap, make sure not to create knots or bumps, and include the loose ends of the thread in the wrap.
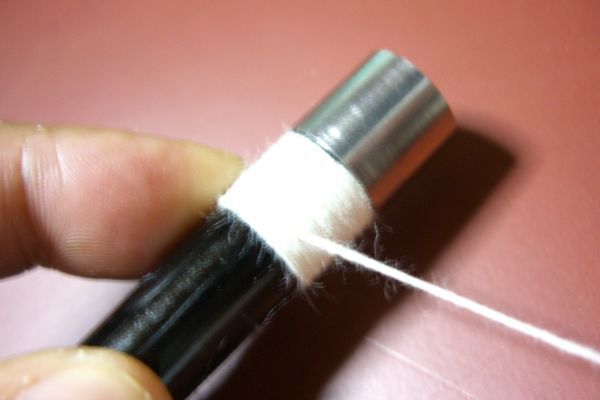
Starting Point of Wrapping (Butt Section)
The top guide section is not wrapped. It is commonly believed that the stronger the thread material, the better. However, I don't share the same belief. I prefer using natural thread materials such as silk or cotton instead of synthetic fibers like nylon. The reason being that after the wrapping process, Urushi (lacquer) is applied multiple times to finish it, and the first layer of Urushi needs to be absorbed by the thread to firmly secure the entire thread.
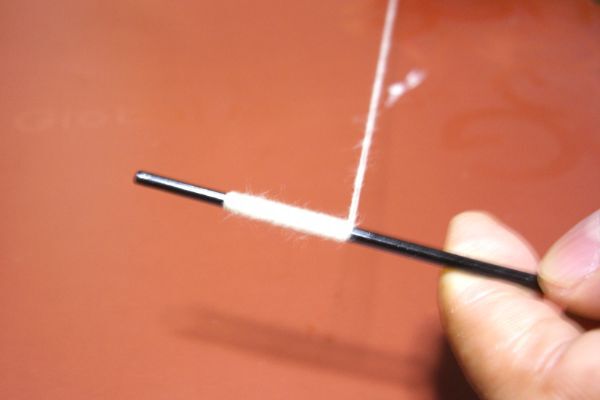
Beginning of the thread wrap (tip section) - The top guide section is not wrapped.
With synthetic fibers, the Urushi applied does not get absorbed into the thread but rather solidifies on top of it. I cannot express it accurately, but the idea is that the wrapped thread absorbs and solidifies the Urushi, providing a thorough coating for the entire material. By the way, for the Sumidagawa Special I and II rods, I used cotton thread.
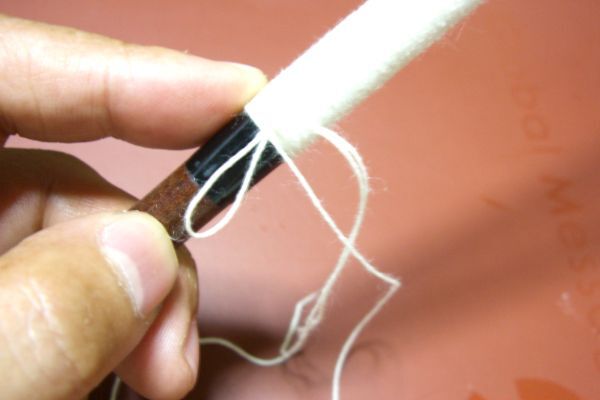
End of the thread wrap (creating a loop and pulling the loose end)
Wrapping the thread around the entire material may give the impression that the rod becomes stiff. However, that is not the case. If you compare it before and after, it should be evident that it doesn't become "softer" but rather the curves become more flexible.
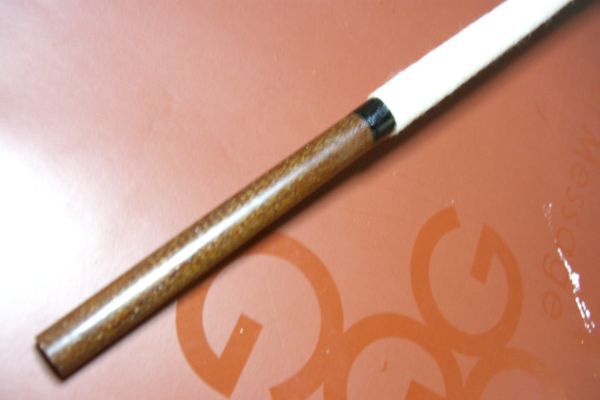
Wrap completion
Additionally, the coating of Urushi and thread helps prevent the phenomenon of the material fibers breaking (rod snapping) when the rod is subjected to force. As a result, it can be said that the flexibility increases.
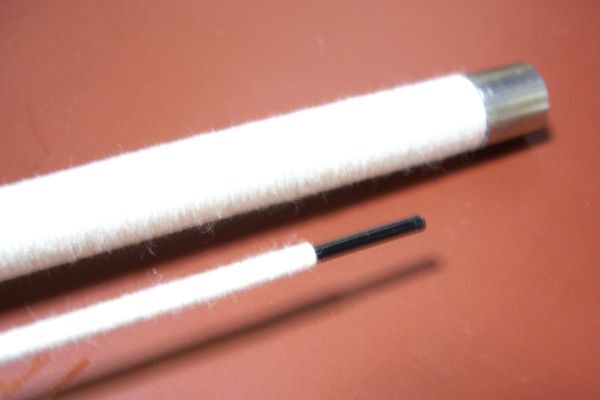
Completion of full wrapping
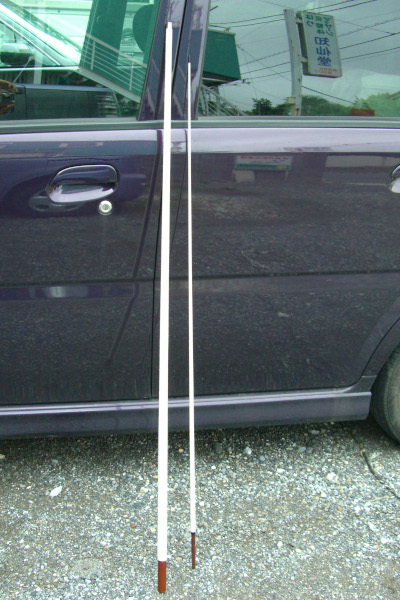
Entire rod (fully wrapped)
Step 3 : Thread Locking
The purpose of this process is to suppress the fuzziness of the wrapped thread on the material using Urushi and to bond the entire thread to the material. If this step is not done properly, it will cause significant difficulties in the subsequent main lacquering process, so careful work is required.
First, prepare a slightly diluted transparent Urushi. The ratio with the solvent should be around 5:5 to 6:4. Initially, the thread absorbs a significant amount of Urushi, so you will need more Urushi than you might think. It is recommended to prepare an ample amount in advance.
Once the Urushi is ready, apply it quickly using a brush. The brush should always move perpendicular to the rod and in one direction along the thread. Avoid moving the brush vertically or making back-and-forth strokes against the rod. Otherwise, the thread will become more frayed, leading to a troublesome situation.
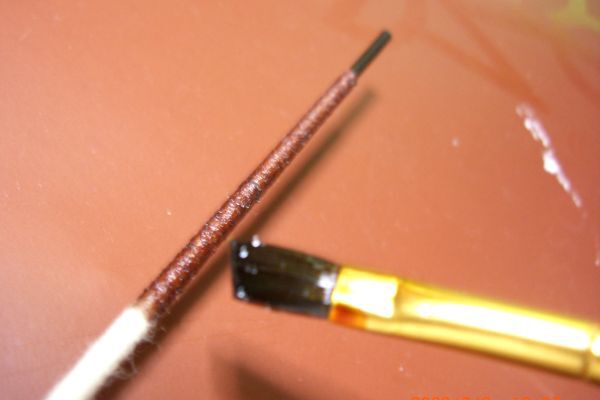
"Thread Locking" - Applying transparent Urushi with a brush
In this process, don't worry about uneven application. Just focus on the brush technique and work swiftly. If it dries in the middle, you won't be able to proceed with the next step.
After finishing the coating from the tip to the butt without allowing the Urushi to dry, hold the rod between your thumb and index finger and rub the rod in the same direction as the thread wrapping to suppress the fuzziness of the thread. It is crucial to rotate the rod in the same direction as the thread wrapping, as rotating it in the opposite direction will cause the carefully wrapped thread to come undone. Your hands may become sticky due to the Urushi, but it is important to work quickly and decisively.
Once you've reached this point, let the Urushi dry slowly. Choose a dust-free location with a bit of humidity and wait for about three days.
☆Note
The Urushi I use is generally safe to handle and doesn't cause any allergic reactions. However, it might be advisable to avoid using it in places where small children are present. Also, the odor is strong, especially the solvent, so don't forget to ventilate the area. First and foremost, it is important to obtain your spouse's consent. Be careful not to cause any domestic issues!
Furthermore, once Urushi gets on your clothes, it will never come off. When I work with Urushi, I wear dedicated clothing (covered in Urushi).
There is one more important thing. That is, before starting the application, make sure you have a designated drying area. Whether you dry the rod in a standing position or horizontally, you need to make sure that the coated section doesn't come into contact with anything. If you neglect this, you will have to hold the rod in your hand until the surface dries for several hours! Proper preparation is necessary.
In the next part, we will proceed with attaching the reel seat and making the grip.